靠双手学一门新一代爆款徒手技术
创造一个0基础入门变现的副业收入
未来10年女性市场
无创自然徒手整形技术
不靠用仪器、不打针!
把业绩再推到另外一个高度
适合本身有专业技术:按摩师,推拿师,中医师,养生馆, 健身教练,物理治疗师,美容师,Yoga老师
新手小白,妈妈,想变美的女人
名额只限30位,席位快满
00天
00小时
00分钟
00秒
名额状态
还剩 位
日期:11-Jun-2026 08:00 PM
时间:8PM - 10PM
地点:Online Zoom
你是不是也正在面对这些瓶颈?
项目做到极致,却卖不出高价
手艺很扎实、服务很好但顾客预
算就是卡想调高价也没底气
仪器投资大,结果不稳定
花了几万买机器,效果不明显
顾客质疑专业度,设备反拖现金流。
没有新技术带动突破
团队扩张、推广做了,还是靠
旧项目苦撑,始终突破不了业绩瓶颈
想透过【徒手整形】
让你在【2小时】学会
业绩翻倍的秘诀
只需来【免费线上分享会】
会毫无保留的给你懂完
我们是如何帮助【美业老板】
在【1个月】透过【徒手整形】
做到【业绩翻倍+客单价提升】
👇🏻5大秘诀👇🏻
来2小时免费
《新一代爆款徒手整形技术》分享会
秘密 1 :徒手塑出立体五官
学会如何以专业手法雕塑鼻梁、下颚线与脸部轮廓,不打针、不动刀,就能为顾客打造自然又高级的立体感
秘密 2:解锁黄金比例美学
掌握面部美学的核心法则,懂得分析五官比例,为每位顾客设计出专属的脸型方案,让他们一眼看见与众不同的价值
秘密 3:无成本升级项目
教你如何把徒手塑形技术无缝结合到现有服务中,不用再额外投资设备,就能立刻增加一个高利润新项目
秘密 4:高单价成交密码
学习如何用美学价值说服客户,突破“价钱卡位”,轻松开高价,让顾客主动掏钱,甚至觉得物超所值
秘密 5:业绩倍增的终极武器
揭晓为什么徒手塑形能让美业老板客单价翻倍,客户回头率提升,实现快速突破瓶颈、打造持续增长的业绩


划右边
学会之前
有手艺却不敢开高价,顾客流失严重
仪器投资大,效果不明显反而拖垮现金流
每月业绩归零,项目缺乏持续性和升级感
学会之后
懂得徒手美学,能给顾客专业建议,客户粘性明显提升
不用设备、不靠仪器,也能新增高利润项目,客单价直接提高
建立个人品牌,客户主动转介绍,业绩稳步增长
为什么选择
Best Osteo Academy?
从中我发现,很多专业人士
做到很累却做不大
主要原因就是
缺乏对市场的理解,只会推同样的配套
在这堂课中,就是要让你知道过去
为什么业绩做不上去
做错了什么,做对了什么,
让你不再犯同样的错误
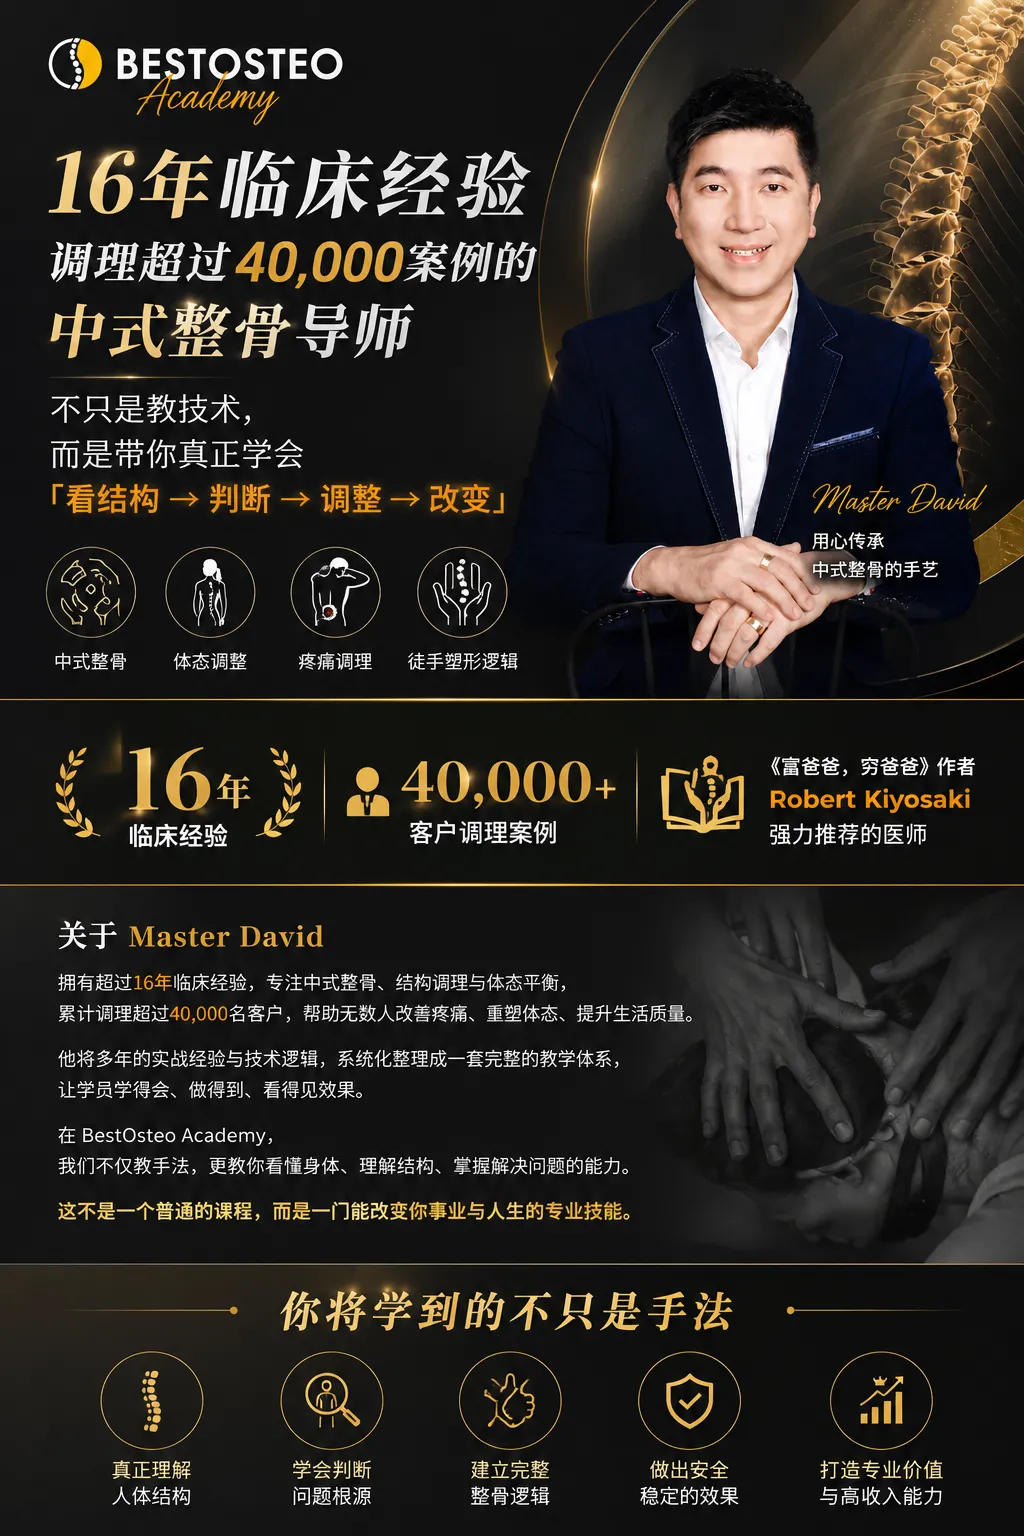
看看Robert Kiyosaki怎么说

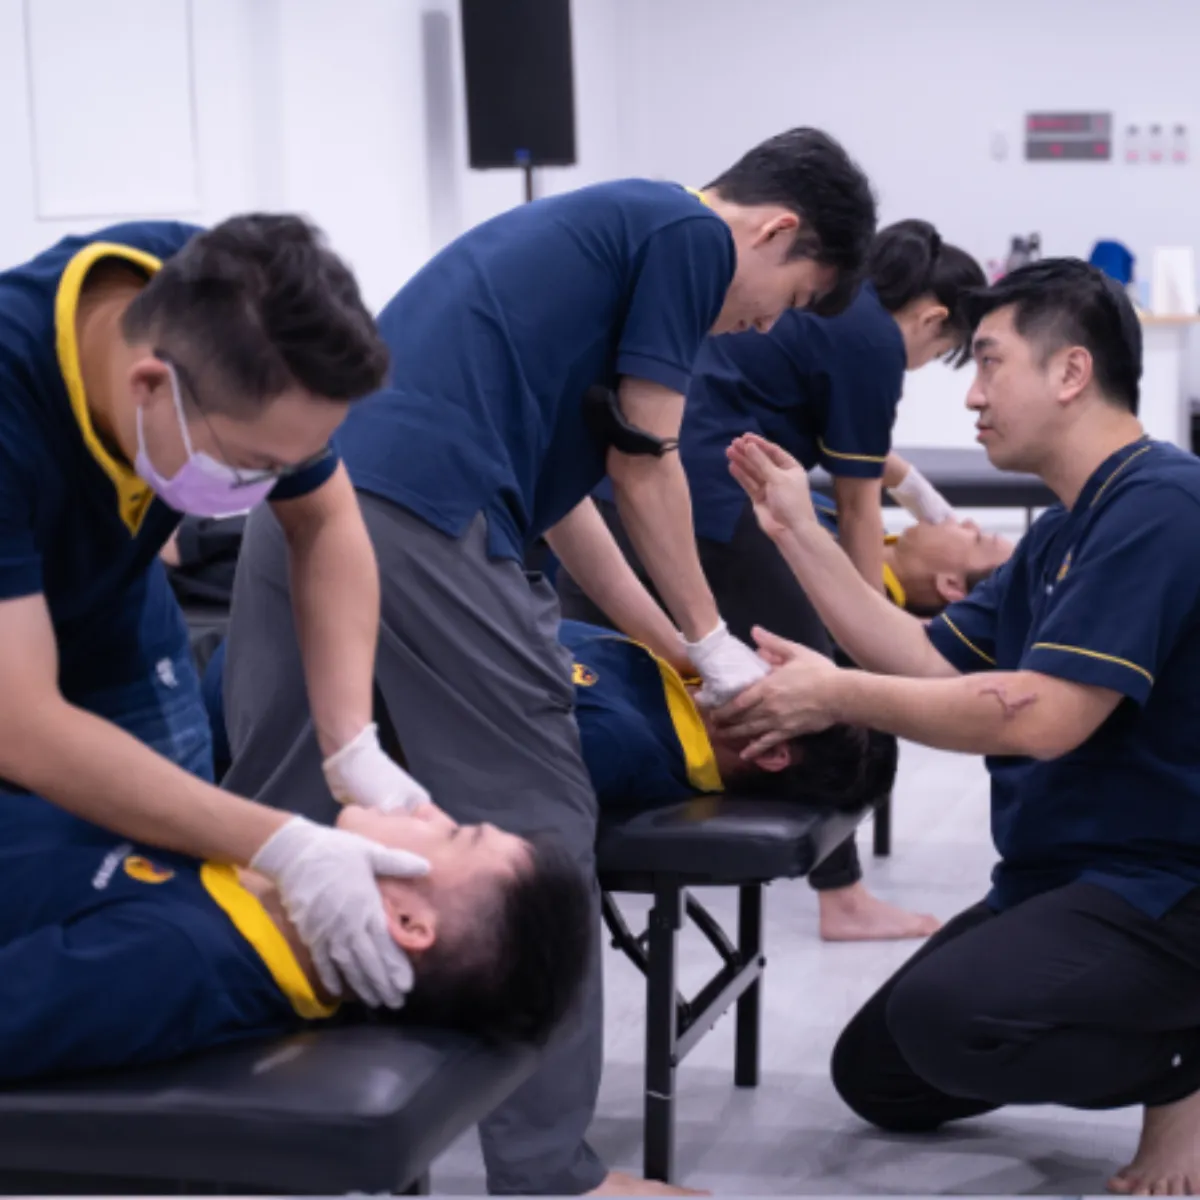
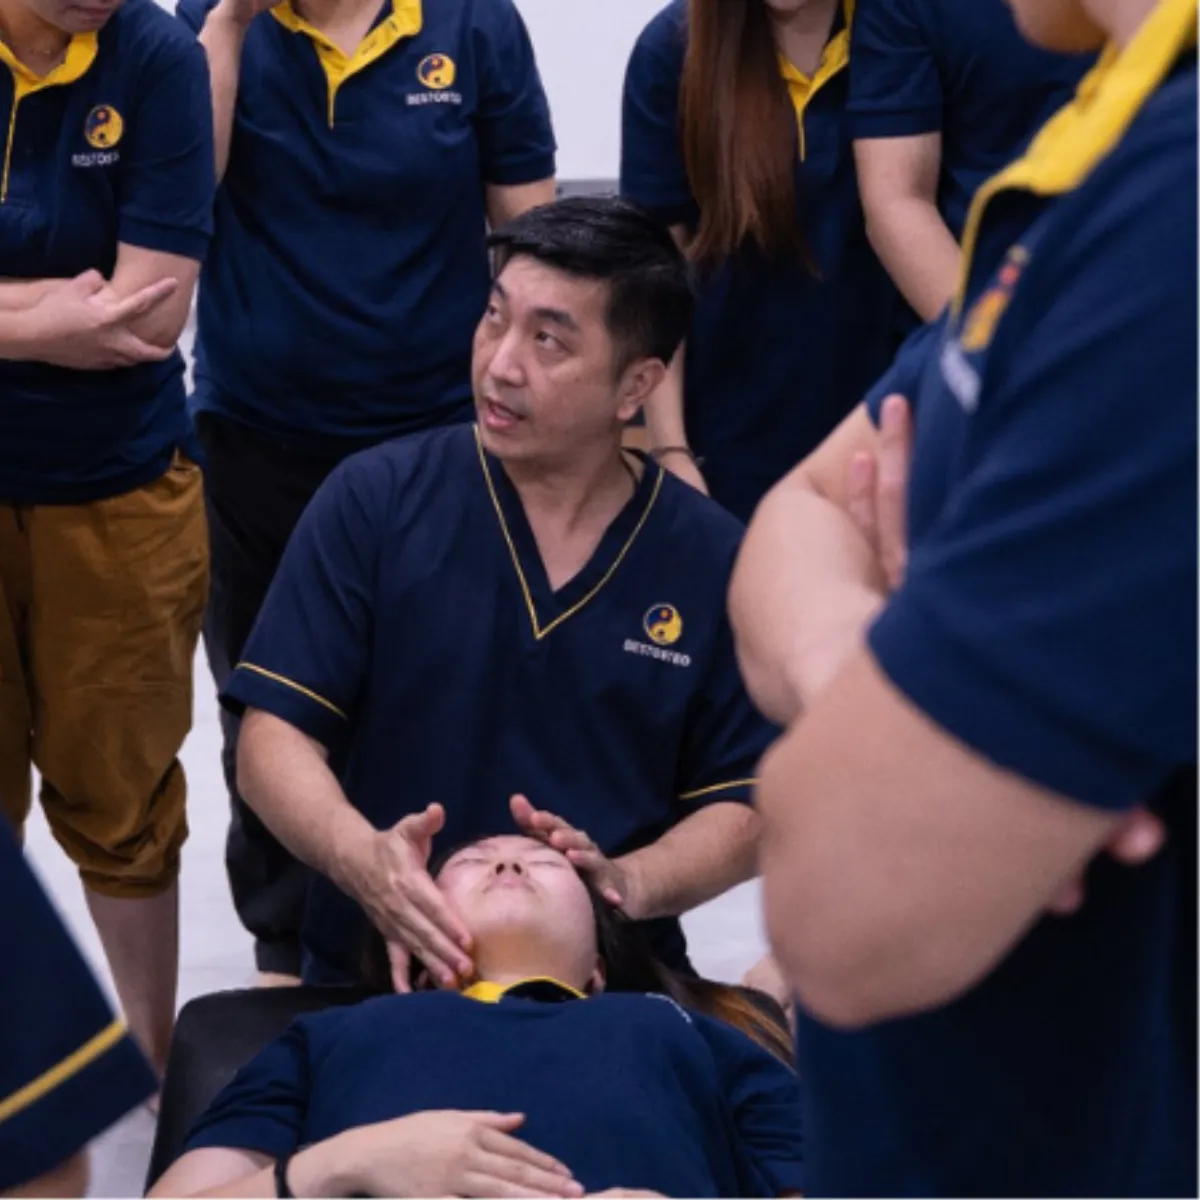


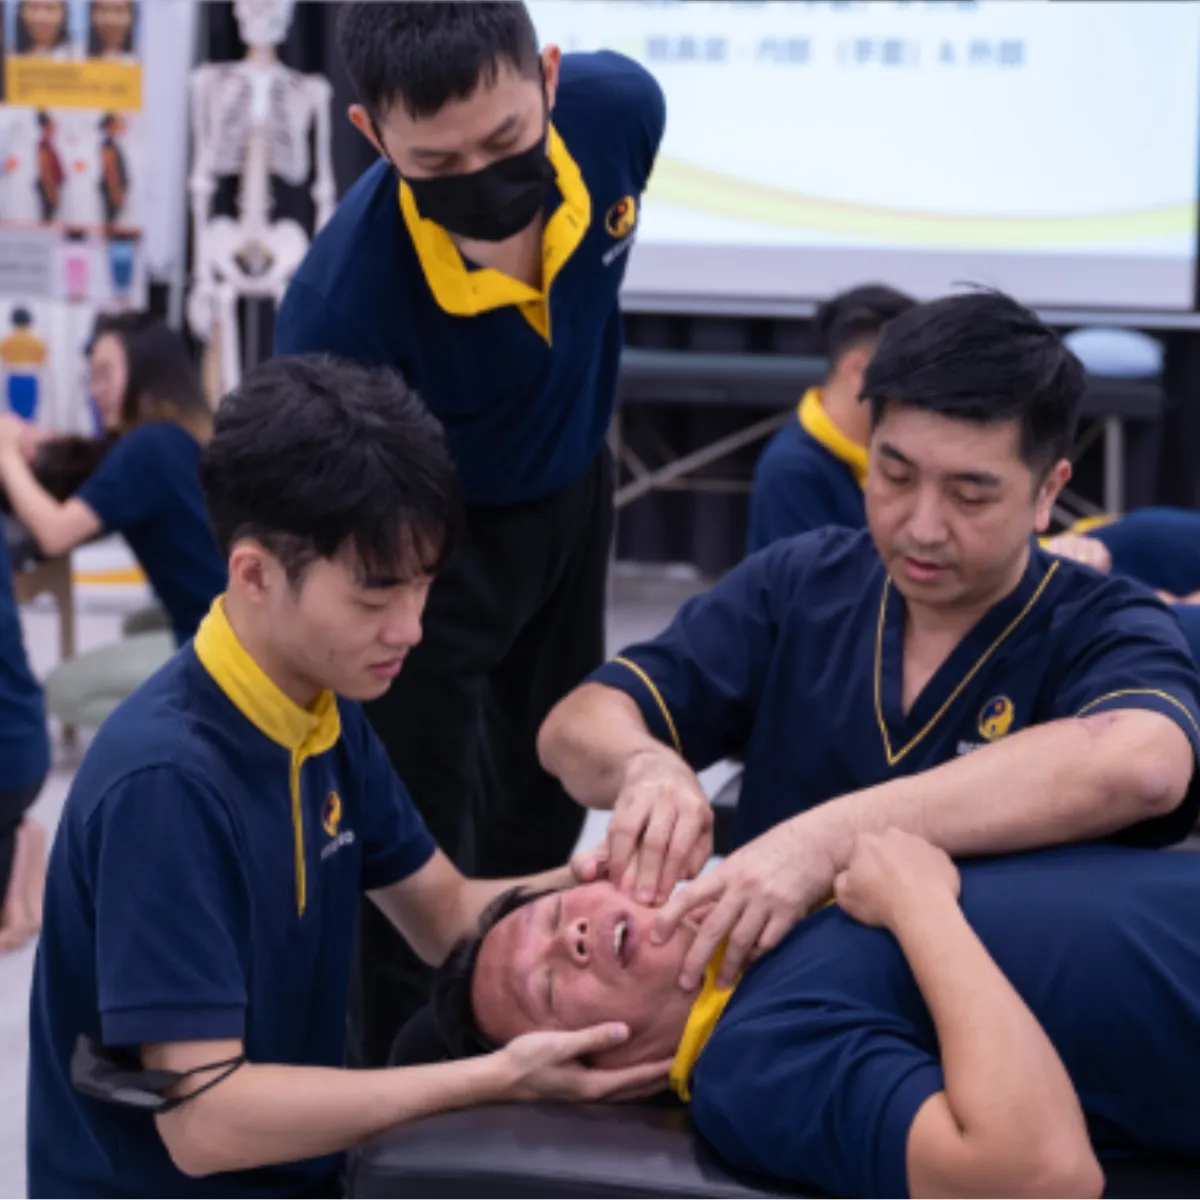
看看学员怎么说: